In teleecomunication services development, one of the most pressing technical challenges is how to build scalable, secure, and cost-efficient infrastructure that can handle multiple clients (or tenants) at once. Over the years, working as a full-stack developer and infrastructure engineer, I’ve helped to develop multi-tenant systems in enterprise-level telecom environments using .NET Core. Multi-tenancy in telecom is not just a “nice-to-have” feature; it’s a necessity for service providers who want to handle vast amounts of traffic, serve multiple organizations with isolated data, and still maintain flexibility in deployments. In this article, I’ll walk you through why multi-tenant infrastructure matters, the pros and cons of such systems, the steps to build them in .NET, and finally some best practices from real-world experience in telecom.
Why Multi Tenant Infrastructure Matters in Telecom
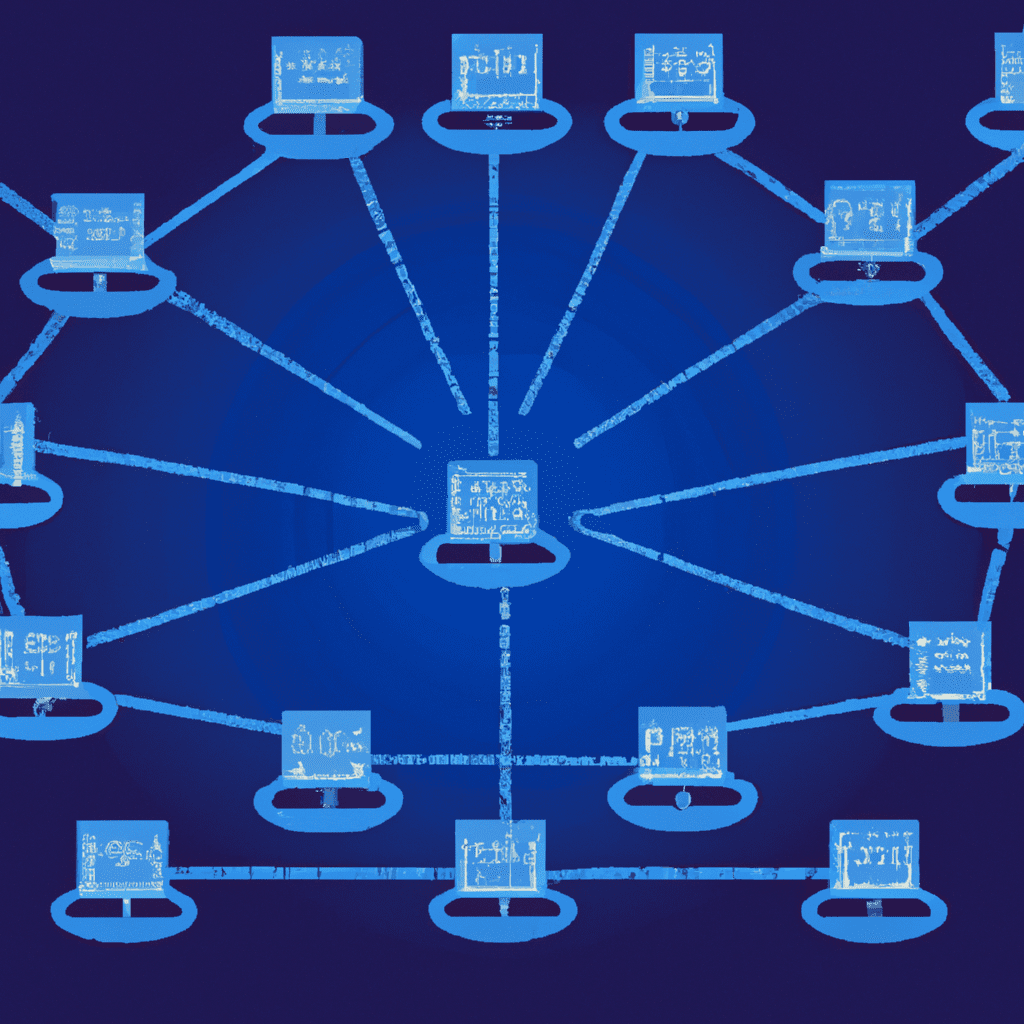
Telecom companies deal with thousands, often millions, of concurrent users across different businesses. Imagine a company providing VoIP or SMS services to hundreds of clients – each expects data separation, custom configurations, and seamless performance. A multi-tenant architecture enables a single application instance to serve multiple clients with isolated logical environments, while minimizing infrastructure costs.
From my experience building telecom platforms, multi-tenancy proved essential when onboarding enterprise clients who required different branding, billing rules, and reporting. Instead of deploying a separate application for each client, we used a multi-tenant .NET Core system where tenants could share backend resources but keep their data isolated. This drastically reduced deployment times and infrastructure overhead.
Multi-tenancy also brings the agility telecom providers need. Regulatory requirements often mandate data siloing per tenant, especially in regions with strict compliance rules. With proper multi-tenant architecture, these silos are guaranteed at the database or row-level security layer. This means telecom operators can onboard new regions or partners without redesigning the system for every case.
Another important factor is operational efficiency. Imagine managing hundreds of microservices for each tenant – it’s nearly impossible without multi-tenant consolidation. By leveraging shared services with tenant isolation, companies can run updates and CI/CD pipelines faster, while ensuring minimal downtime. This allows new product features to roll out simultaneously across various clients.
Finally, multi-tenant infrastructure matters for scalability. Telecom workloads, such as call routing, data streaming, or mobile billing, can spike unpredictably. A well-structured multi-tenant environment ensures that scaling is dynamic and resource usage is optimized. The system can auto-scale by adding more instances, while the tenant logic ensures that resources are distributed fairly between clients.
Pros and Cons of Multi Tenant Systems in .NET
Every architectural choice has pros and cons, and multi-tenancy in telecom is no exception. From my projects with enterprise providers, .NET Core proved to be both powerful and flexible, but you must weigh the benefits carefully.
Pros: One major advantage is cost efficiency. By reusing the same application layer, you reduce infrastructure overhead. Another is faster onboarding, since tenants can be created dynamically with database migrations. In one of my projects, we were able to deploy new enterprise clients in under an hour, compared to days with a single-tenant approach.
Another benefit is centralized updates. If a telecom provider needs to patch a vulnerability or release a new analytics feature, one deployment propagates to all tenants simultaneously. This minimizes operational costs while keeping security consistent across all client environments.
.NET Core also brings strong multi-tenant support through middleware, dependency injection, and tenant-aware service registration. The framework allows developers to easily resolve tenant contexts at runtime, ensuring data isolation based on subdomains, headers, or tokens.
Cons: On the downside, multi-tenant systems in telecom are inherently more complex. From my experience, debugging tenant-specific issues often required deep log analysis and complex monitoring setups. Another drawback is the security risk – if your tenant isolation breaks due to improper database queries, one tenant might access another tenant’s data, which in telecom could mean massive compliance violations.
Performance tuning also becomes harder. With one shared application, workloads must be carefully designed to prevent one tenant’s high usage from degrading service for others. For example, one client’s high call load should not impact another client’s SMS reporting. Load balancing and isolation strategies must be built into the infrastructure from the start.
Steps to Build Multi Tenant Setup with .NET Core
-
Tenant Resolution Layer – First, you need middleware that intercepts every request and determines the tenant. In telecom, this might come from the domain name (e.g.,
client1.telecom.com), request headers, or authentication tokens. Once identified, this tenant context is injected into the request pipeline. -
Data Isolation – For most telecom enterprises, regulatory compliance requires strict data silos. You must choose between database-per-tenant, schema-per-tenant, or row-level security. In my project, we used schema-per-tenant because clients wanted isolated data but didn’t want the cost of maintaining separate instances per client.
-
Dependency Injection (DI) with Tenant-Awareness – Using .NET Core’s DI container, you can register services based on tenant configuration. For example, one telecom client may require different billing logic, which can be dynamically injected at runtime.
-
Configuration Management – Tenants in telecom often demand custom branding, terms of service, or even call routing rules. We stored these configs in an external database (Azure CosmosDB) and cached them for performance.
-
CI/CD Integration – With Azure DevOps, we automated schema migrations and tested tenant onboarding in pipelines. This allowed us to confidently deploy new versions without risking downtime for existing clients.
-
Monitoring and Logging – We used Application Insights with tenant-specific identifiers. This enabled us to trace issues per client, which was invaluable when one telecom customer reported call drop metrics different from others.
Best Practices for Secure and Scalable Telecom Apps
From my professional journey, I’ve collected best practices that ensure long-term reliability of multi-tenant telecom apps in .NET.
-
Strong Security Isolation – Always validate tenant identifiers and enforce strict isolation at the database level. SQL queries must never assume shared state. In one implementation, we used EF Core filters to enforce tenant-based query rules.
-
Rate Limiting & Fair Usage – In telecom, it’s common for one tenant to consume a massive amount of API calls. Implement rate limiting policies per tenant to ensure that one client does not degrade the system’s global performance.
-
Elastic Scaling – Use Kubernetes or Azure App Services with autoscaling configured per workload. For example, SMS workloads and VoIP call routing might need separate autoscaling rules, even though both exist within the same application infrastructure.
-
Centralized Logging & Monitoring – Avoid blind spots. Logging should always include tenant IDs so support teams can troubleshoot issues easily. Without this, debugging telecom-specific outages can take days.
-
Regular Compliance Audits – Telecom is heavily regulated, so ensure that audits for GDPR, HIPAA, or regional data laws are part of your development lifecycle. Automating compliance checks in CI/CD pipelines saves headaches later.
-
Test for Tenant-Specific Failures – Don’t assume that because one tenant works, all do. Run integration tests per tenant schema during every deployment to verify rule and data integrity. In practice, this prevented us from accidentally rolling out a faulty billing feature to 20+ clients at once.
Q & A
Q: Should I use a database per tenant in telecom applications?
A: It depends on your scale and regulation needs. For high-value enterprise clients, I prefer schema-per-tenant, since it balances isolation and maintainability. Database-per-tenant works but is harder to scale beyond dozens of clients.
Q: How do you prevent one tenant from hogging resources?
A: Kubernetes resource quotas, per-tenant throttling middleware, and custom API rate limits. This ensures no single telecom client affects the performance of others.
Q: Is .NET Core the best choice for multi-tenant apps?
A: Yes, particularly for enterprise telecom companies. It has strong middleware and DI support, built-in configuration capabilities, and excellent integration with Azure cloud and CI/CD pipelines.
Building multi-tenant infrastructure in telecom with .NET Core is not just about coding—it’s about aligning business scalability with technical excellence. From my hands-on experience working on enterprise telecom systems, the key is to balance security, responsiveness, and cost efficiency while ensuring compliance with industry regulations. By carefully planning tenant resolution, data isolation strategies, and CI/CD automation, you can deliver a robust multi-tenant platform that scales with client growth. For telecom companies aiming to expand rapidly while keeping infrastructure lean, the multi-tenant approach in .NET is one of the most strategic architectural investments you can make.